Amazon SES Setup: 5 Steps Most Developers Get Wrong
If you search Google for an amazon ses setup tutorial, you will find the same recycled blog posts over and over. Screenshots from 2019. Outdated SDK code snippets. Zero mention of what happens when your bounce rate spikes and AWS silently kills your account. These posts are written to rank, not to inform.
At DevDecide, I believe honest developer tool reviews require actual engineering work. That means spinning up a real sandbox environment, writing the integration code from scratch, intentionally misconfiguring things to see how badly it breaks, and cross-referencing findings against real war stories from developers on Hacker News and Reddit. No affiliate fluff. No "highly scalable" claims without proof.
So here is the complete Amazon SES setup guide — the one I wish existed when I first wired it into a production SaaS. The AWS console steps apply regardless of your stack. The code examples use Node.js, but the concepts translate directly to Python, PHP, Ruby, or any other backend language.
Why Amazon SES? The Honest Case
The math is simple. Sending 100,000 emails on SendGrid costs roughly $90 per month. On Amazon SES, that same volume costs approximately $10.00. That is not a rounding error. That is one order of magnitude cheaper.
For a bootstrapped SaaS processing password resets, welcome emails, and transactional receipts, that delta compounds fast. What you save on email infrastructure, you reinvest into the product.
But the cost savings come with a real trade-off. AWS does not hold your hand. There is no guided onboarding wizard. If you misconfigure your amazon ses setup, your emails land in spam — or worse, your sending privileges get permanently revoked without warning. This guide gets you through that minefield cleanly.
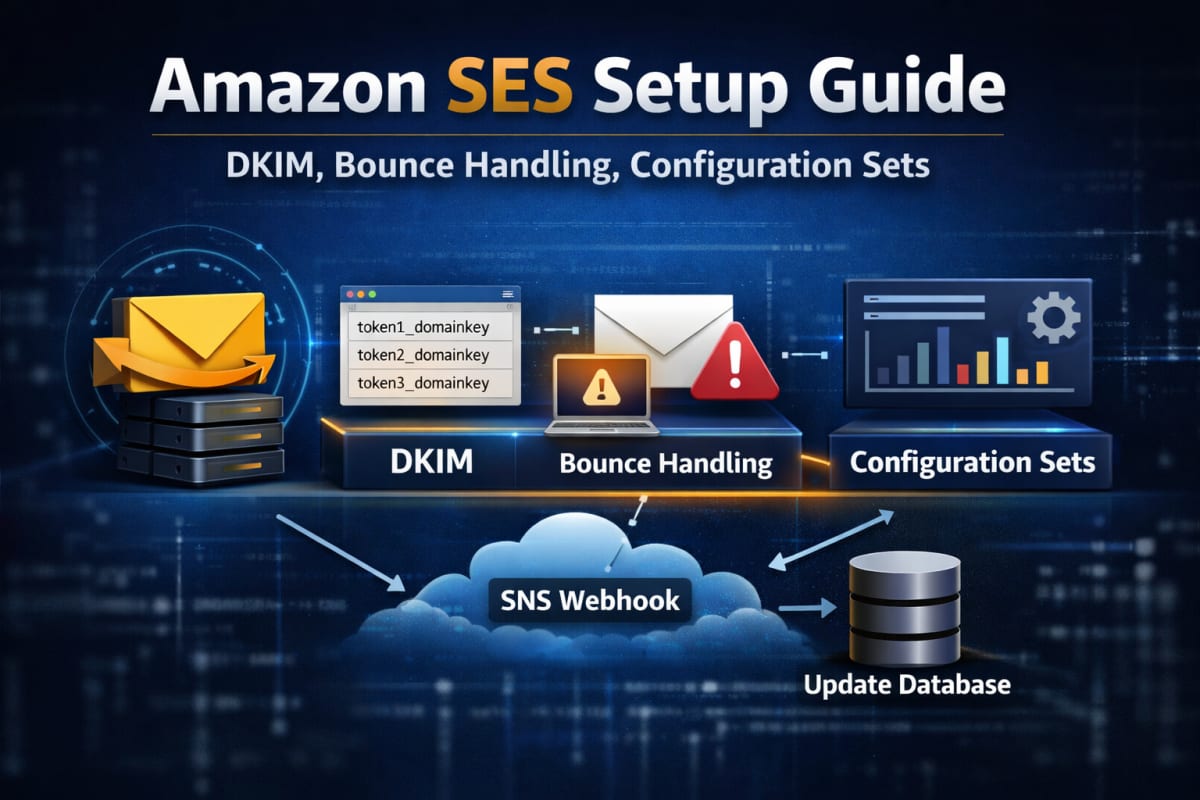 A correctly configured Amazon SES setup includes verified identities, DKIM records, Configuration Sets, and SNS bounce handling.
Step 1: Understand the SES Sandbox Before You Touch Anything
Every new AWS account starts inside the SES Sandbox. This is AWS's spam prevention layer — it exists because SES infrastructure is genuinely powerful, and AWS has zero interest in becoming a spam relay service.
While you are inside the Sandbox, three hard limits apply:
- Maximum 200 emails per 24-hour period
- Maximum 1 email per second send rate
- You can only send to pre-verified email addresses or the Amazon SES mailbox simulator
That last restriction catches almost every developer the first time. You cannot test your welcome sequence against a real unverified address. You must first add that recipient as a Verified Identity inside the SES console.
To request production access and escape the Sandbox, open a support case under Service Limit Increase → SES Sending Limits. AWS will ask three things: your use case, how you acquire your mailing list, and how you handle bounces.
Do not submit this ticket until you have completed steps 2 through 4 below. If your bounce handling infrastructure is not live when AWS reviews your request, they will reject it. Build the safety rails first, then ask for the keys.
Step 2: Verified Identities and DKIM — The Foundation of Amazon SES Setup
Before a single email goes out, your sending domain must be a Verified Identity inside SES. This proves to AWS — and to receiving mail servers like Gmail and Outlook — that you legitimately own the domain you are sending from.
Go to the SES console → Configuration → Verified Identities → Create Identity. Select Domain and enter your domain.
AWS will generate three CNAME records for DKIM (DomainKeys Identified Mail) authentication. They look like this:
Name:  token1._domainkey.yourdomain.com
Type:  CNAME
Value: token1.dkim.amazonses.com
Add all three to your DNS provider — Cloudflare, Route 53, Vercel, or wherever your DNS lives. Propagation typically takes 10–30 minutes, after which AWS marks the domain as Verified.
This step is non-negotiable. Sending without valid DKIM means your emails arrive in spam — not sometimes, consistently. Gmail's filters do not give SES any special treatment.
While you are in the DNS editor, also configure:
- SPF record — authorizes AWS to send on behalf of your domain
- DMARC policy — tells receiving servers what to do when authentication fails
Without DMARC, even a correctly DKIM-signed message can get flagged by aggressive spam filters. All three records working together — DKIM, SPF, DMARC — is what gives your domain a clean sender reputation from day one.
Step 3: Configuration Sets — The Most Skipped Step in Any Amazon SES Setup
This is where the majority of developers fail their first amazon ses setup. Not the DNS. Not the code. This.
Amazon SES monitors your bounce rate and complaint rate continuously. Here are the hard limits you must stay under:
| Metric | Probation Threshold | Suspension Threshold |
|---|---|---|
| Bounce Rate | 5% | 10% |
| Complaint Rate | 0.08% | 0.1% |
When you hit 10% bounces, SES does not send you a warning. It suspends your sending privileges instantly. Re-activating a suspended account requires a manual support ticket and a credible explanation of how you fixed the root cause. It can take days.
Configuration Sets are how you prevent this. A Configuration Set is a rule that tells AWS what to do after an email leaves your server. You configure it to publish bounce and complaint events to an Amazon SNS topic, which forwards those events to a webhook on your backend — where you permanently blacklist the bad address.
Here is how to wire it together in the AWS console:
- Go to SES → Configuration → Configuration Sets → Create configuration set. Name it
production-transactional. - Open the set → Event Destinations tab → Add destination.
- Choose SNS as the destination type.
- Check Hard Bounces and Complaints.
- Create a new SNS topic named
ses-bounces-topic. - In the SNS console, add an HTTPS subscription pointing to your webhook URL.
Every email you send must reference this Configuration Set by name in the API call. If you omit it, SES sends the email but tracks nothing. You are flying completely blind on your bounce rate.
Step 4: Sending Your First Email
Now the implementation. The core SES API call is the same regardless of your language — you are constructing a SendEmail request with a Source, Destination, Message body, and crucially, your ConfigurationSetName.
Here is the Node.js implementation using the modern AWS SDK v3. The same parameters map directly to the AWS SDK for Python (Boto3), PHP, or any other official AWS SDK.
Install the package (Node.js):
npm install @aws-sdk/client-ses
The send function:
import { SESClient, SendEmailCommand } from "@aws-sdk/client-ses"; const sesClient = new SESClient({ region: process.env.AWS_REGION || "us-east-1" }); export async function sendTransactionalEmail(toAddress, subject, htmlBody) { const params = { Source: "hello@yourdomain.com", // Must match your Verified Identity Destination: { ToAddresses: [toAddress], }, Message: { Subject: { Data: subject, Charset: "UTF-8" }, Body: { Html: { Data: htmlBody, Charset: "UTF-8" }, }, }, // CRITICAL: Omitting this means bounces are not tracked ConfigurationSetName: "production-transactional", }; try { const command = new SendEmailCommand(params); const response = await sesClient.send(command); return { success: true, messageId: response.MessageId }; } catch (error) { console.error("SES send error:", error); return { success: false, error: error.message }; } }
The client automatically reads AWS_ACCESS_KEY_ID and AWS_SECRET_ACCESS_KEY from your environment variables. Store those securely and never commit them to version control.
For complete SDK reference, see the official AWS SDK for JavaScript v3 documentation.
Step 5: Handling Bounce Webhooks — Close the Loop
Catching a bounce event and doing nothing means you will email that dead address again on your next send — pushing your bounce rate higher every time. This is how accounts get suspended.
When SNS fires your webhook, it first sends a SubscriptionConfirmation POST. You must auto-confirm it by fetching the SubscribeURL in the payload, otherwise SNS will never deliver real events.
Next.js App Router example (app/api/webhooks/ses/route.js):
import { NextResponse } from 'next/server'; import dbConnect from '@/lib/mongodb'; import User from '@/models/User'; export async function POST(request) { try { const payload = await request.text(); const snsMessage = JSON.parse(payload); // Step 1: Confirm the SNS subscription on first contact if (snsMessage.Type === 'SubscriptionConfirmation') { await fetch(snsMessage.SubscribeURL); return NextResponse.json({ status: 'confirmed' }); } // Step 2: Process bounce and complaint events if (snsMessage.Type === 'Notification') { const sesEvent = JSON.parse(snsMessage.Message); if (sesEvent.notificationType === 'Bounce' || sesEvent.notificationType === 'Complaint') { const affected = sesEvent.bounce.bouncedRecipients.map(r => r.emailAddress); await dbConnect(); // Permanently blacklist the address in your database await User.updateMany( { email: { $in: affected } }, { $set: { emailDeliverable: false, bounceType: sesEvent.notificationType } } ); } } return NextResponse.json({ success: true }); } catch (error) { console.error("Webhook error:", error); return NextResponse.json({ error: "Failed" }, { status: 500 }); } }
The principle is identical in any framework — receive the POST, parse the SNS envelope, extract the bounced addresses, and flag them in your database so your application never sends to them again.
Add a guard at the top of every send function:
const user = await User.findOne({ email: toAddress }); if (!user?.emailDeliverable) { return { success: false, error: "Address is blacklisted" }; }
This single check is what keeps your bounce rate clean at scale.
The IAM Policy You Actually Need
Most amazon ses setup guides skip this. Do not give your application credentials blanket AWS access. Create a dedicated IAM user with the minimum required permissions:
{ "Version": "2012-10-17", "Statement": [ { "Effect": "Allow", "Action": [ "ses:SendEmail", "ses:SendRawEmail" ], "Resource": "*" } ] }
Your application only needs to send emails. It does not need to create identities, manage configuration sets, or touch billing. Scope it down. If those credentials ever leak, the blast radius is contained.
4 Common Amazon SES Setup Mistakes
1. Omitting the ConfigurationSetName on sends. The field is optional in the API — AWS will not throw an error if you leave it out. But your bounce tracking is completely dead. Always include it.
2. Verifying the wrong domain.
mail.yourdomain.com and yourdomain.com are separate identities in SES. If your From address is hello@yourdomain.com but you only verified the subdomain, every send fails with a verification error.
3. Not confirming the SNS subscription.
SNS sends a SubscriptionConfirmation POST to your webhook before any real events. If your handler does not fetch the SubscribeURL in that first request, bounce notifications will never arrive.
4. Mismatched AWS regions. Your SESClient must use the same region where your Verified Identity was created. A mismatch produces a confusing "identity not found" error that wastes hours of debugging time.
When Amazon SES Is Not the Right Choice
SES is not the right tool for every situation. Be honest with yourself:
- If you are pre-launch with under 10,000 emails per month, the engineering overhead of SES is not worth it. Use Resend or Postmark — the developer experience is significantly smoother and the cost difference is negligible at low volume.
- If your team has no backend experience, the SNS webhook and IAM configuration will cost you more in debugging hours than you save on the bill.
- If you need advanced analytics — open rates, click tracking, A/B testing — SES provides raw event data that requires you to build your own dashboards. Managed providers include this out of the box.
Come to SES when the invoices start to hurt. For a detailed cost and deliverability comparison, read our Amazon SES vs SendGrid breakdown where we tested both platforms under real production conditions.
The Bottom Line
The reputation of amazon ses setup being painful is earned. AWS hands you enterprise-grade infrastructure and expects you to bring the engineering discipline. Verified Identity, clean DKIM and SPF records, Configuration Sets wired to SNS, bounce webhook updating your database, IAM policy scoped to the minimum — every piece has to be in place.
Do it right, and you have a transactional email system that costs $10 per 100,000 sends and scales without ever threatening your monthly burn rate.
The extra setup time is not a burden. It is the price of infrastructure that actually makes financial sense at scale.